Apollo Installation for Meta Quest Headsets
This is a step-by-step guide for installing Apollo on a Meta Quest 2 VR headset. Please note that you can also follow this method for installing the Discovery Deck.
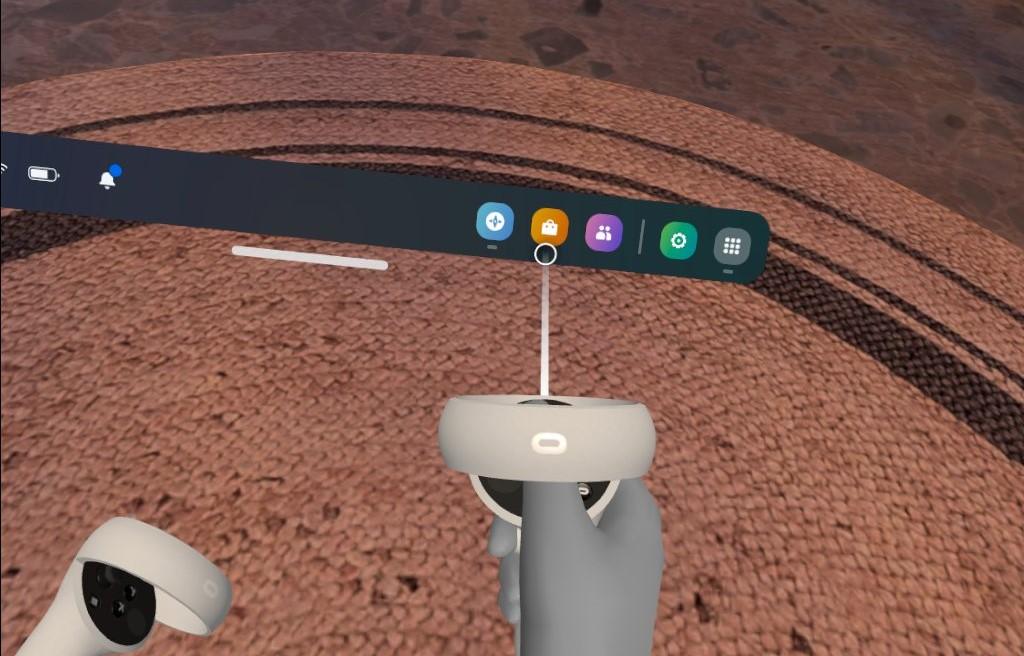
- Put on your Meta Quest headset and turn it on.
- Once you have loaded into the home environment, find your menu bar (you may need to press the Oculus button
 /Meta button
 for this to appear).
- From the home screen, use the controller or hand tracking to navigate to the Store.
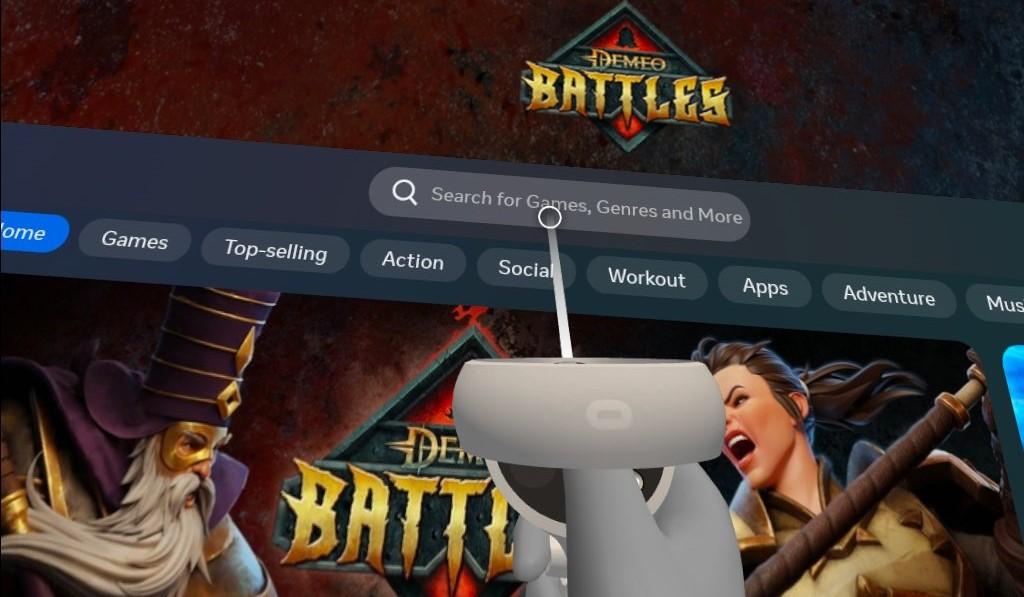
- In the Store, navigate to the search bar using the controller or hand tracking, then type in "Apollo".
- Once you find Apollo in the search results, select it to view the software's details page. The Jenson8 application is identifiable by the publisher field and the thumbnail below.
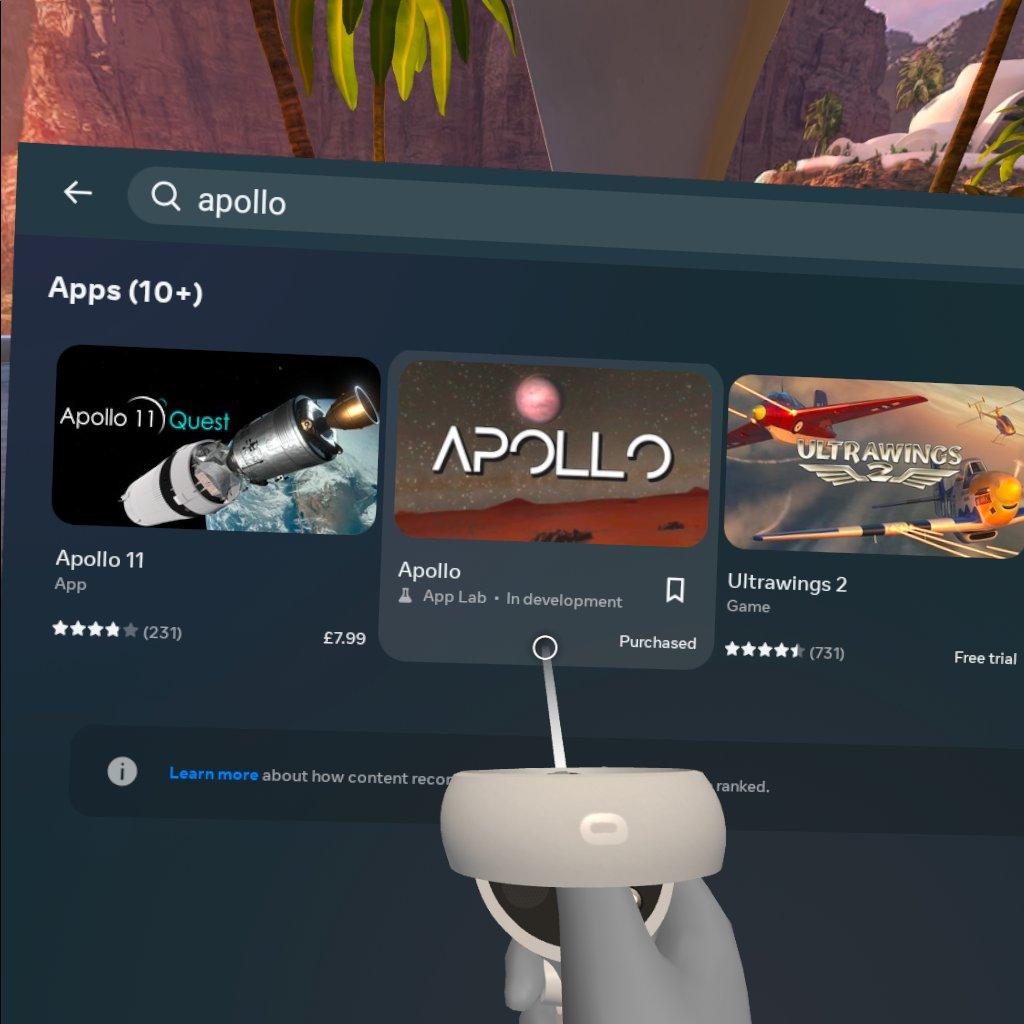
- Proceed with downloading and installing Apollo by selecting the "Get" button.
- Once this is done, the Meta Quest headset will begin downloading and installing Apollo automatically.
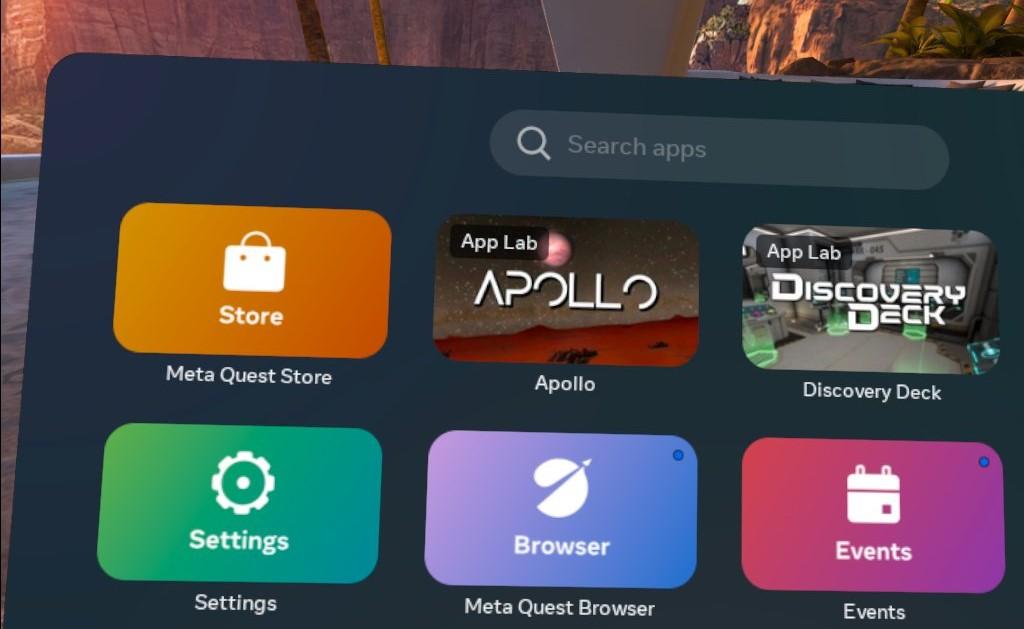
- Once the installation is finished, you can find Apollo in your App Library. Navigate to the App Library using the controller or hand tracking.
- In the app library or app list, locate and select Apollo to launch the software.
- The Meta Quest headset will then start Apollo, and you will be taken to the software's virtual environment.
- Follow any on-screen instructions within Apollo, ensuring you allow all permissions that are requested upon first launch.


